Horizon Online Support
 How do I create a product file import definition?
To create a custom import definition click on "Define Import" under utilities
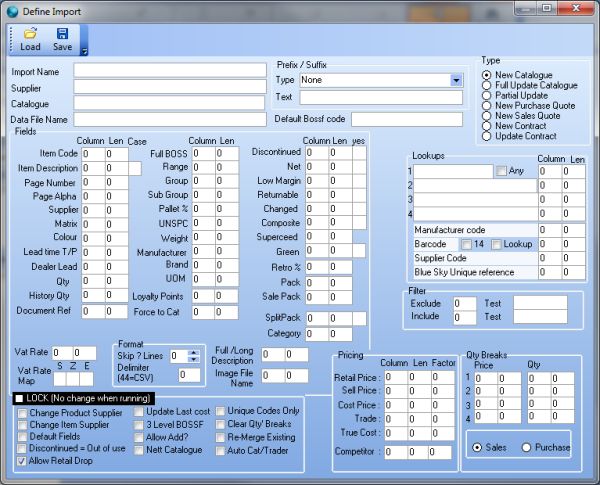
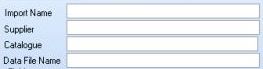
To create a new definiton you will need to fill in the relevant columns, for example, Give the definition a name using "Import Name"
Supplier and Catalogue are optional but if filled in here it means you wont have to select them when you come to use the import.
Data File name will be the name of the actual catalogue file you are going to import, again optional as if left blank you can select it
when you come to perform the import.
To tell the import where to find each piece of data within the file you are importing you will need to tell it which field is in
what column in the data file, to do this simply enter the column number into the relevant field, for example, if column 'A' in your
data file is Code then put a '1' in the "Item Code field in the 'Column' box. You can give the field a length limit but this is not
required. This then needs to be done for each column in the file you wish to import.
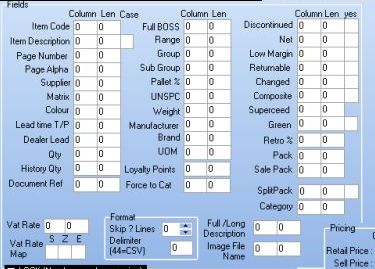
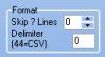
The 'Format' section MUST be filled in as this tells the system what type of file it is, without this it will not import.
The most common type of file for imports is '.csv' if possible you should always try and save your data files in this format.
'.xls' is another common format, for both of these the "Delimiter" field needs to be set to '44'.
'Skip ? Lines' is used to tell the import to miss the first 'x' lines of the file, for example if you have column headdings
in row one of the file you need to skip one line.
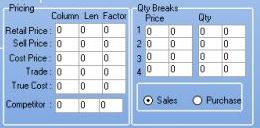
The Pricing section should be filled in like the Fields above, enter the column that each price format is in within the
data file, the factor column is used to adjust the price when importing, it is recommended putting a 1 in this column if you are using
the standard price.
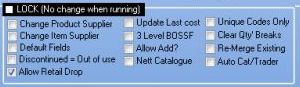
The next set of options can also be set when the import is performed rather than hard coding them into the definition unless
the 'LOCK (No change when running)" option is ticked which disables them on the import product file screen.
The Lookups section is used to tell the import to lookup to other supplies for missing data, for example if you import the
VOW catalogue but dont have pack sizes you can set lookup to SPICER, and give it the column with the SPICER code in, and it will
get the pack size from the alternative product from SPICER.
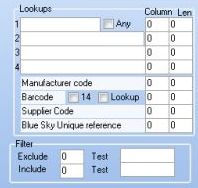
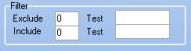
The filter is used if you have a column in the catalogue that dictates if the product is to be imported or not, for example
the Integra catalogue includes products that does not show in the printed catalogue so a column is added to tell the system which
appear in this. To use the filter set the column in the filter box that holds the character which symbolises if its to be included
or not then put the character in the 'Test' box, for example, if column 6 in your catalogue held a 'Y' or 'N' for if its in the
catalogue or not you would enter, 'Include: Filter: 6 Test:Y '
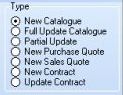
The 'Type' options dictate what the import will do. The options are quite self explanatory. A 'Full Update' has the same affect
as deleting the catalogue and creting a new one, all fields are updated. A 'Partial Update' will only update the fields you tell it
too.
Once you are happy with the setup of the import definition, click save and give the file a name. You can now select this definition
in the 'Import Product File' tool. If you would like to modify an existing definition, open the 'Define Import' tool and click the Load
button, now select the definition you wish to modify and load it into the editor. This can then be edited in the same way as you create
a new definition.
 Back To Horizon Online Support